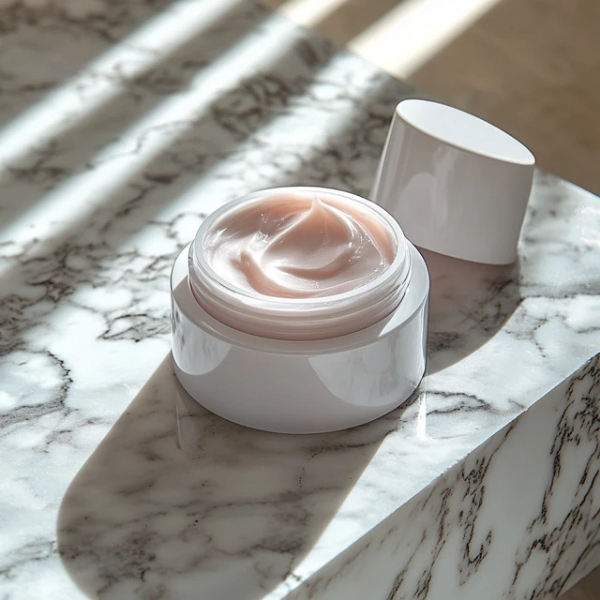
Create smooth, flawless skin with this DIY pore invisible cream made from 100% natural ingredients. Minimize pores and hydrate for a fresh, velvety finish.
Introduction:
Achieving flawless, smooth skin often feels like a distant dream, especially when dealing with enlarged pores. But what if there’s a natural solution to minimize pores while providing hydration and a smooth finish? Introducing this DIY Pore Invisible Cream – a gentle yet effective formula that not only reduces the appearance of pores but also nourishes your skin. With 100% natural ingredients, this cream will leave you with a fresh, velvety texture that’s perfect for achieving a pore-free look without harsh chemicals.
Benefits of This DIY Product:
- Minimizes the appearance of pores – With regular use, this cream reduces the size of pores, creating a smoother and more refined skin texture.
- Smooth, matte finish – The lightweight formula leaves a matte finish, ideal for those looking for a shine-free look without drying out the skin.
- Hydrates and nourishes the skin – While it works to minimize pores, this cream also delivers essential moisture, keeping your skin soft and plump.
- 100% natural formulation – Free from harsh chemicals, this cream relies on gentle, natural ingredients to take care of your skin.
- Perfect for a more even skin tone – This cream promotes a balanced, refined complexion, making it ideal for those seeking even skin texture and tone.
Ingredients Overview:
- Natural oils (e.g., Jojoba, Rosehip) – Nourish and hydrate the skin, providing essential moisture.
- Aloe Vera – Helps soothe and calm the skin while offering a refreshing, hydrating effect.
- Witch Hazel – Known for its astringent properties, it minimizes pore size and refines skin texture.
- Shea Butter – Provides deep hydration while keeping the skin soft and smooth.
- Tea Tree Oil (optional) – Known for its antibacterial properties, it can help prevent breakouts.
Instructions:
- Prepare your tools: You will need a small mixing bowl, a spatula or spoon, and an airtight container for storage.
- Melt the shea butter: Gently melt 1 tablespoon of shea butter using a double boiler method until it’s fully liquid.
- Mix the oils: In the mixing bowl, combine 1 tablespoon of jojoba oil and 1 tablespoon of rosehip oil.
- Add aloe vera gel: Add 1 tablespoon of pure aloe vera gel to the oil mixture.
- Blend in witch hazel: Mix in 1 teaspoon of witch hazel, which helps tighten pores and refine the skin.
- Add tea tree oil (optional): If using, add a few drops (2-3) of tea tree oil for its antibacterial benefits.
- Whisk and combine: Stir everything together until the mixture is smooth and even.
- Store: Transfer the cream into an airtight container. Let it cool before use.
How to Use It:
- Frequency: Apply this cream once or twice daily for best results, preferably in the morning and at night.
- Amount: Use a small amount (a pea-sized dollop) and gently massage it into your face in upward circular motions.
- Skin type: Suitable for most skin types, including oily, dry, and combination skin.
- Patch test: Always perform a patch test on your wrist or behind your ear before applying it to your face to ensure no allergic reactions occur.
Storage & Shelf Life:
- Storage tips: Store the cream in a cool, dark place, away from direct sunlight to maintain its effectiveness.
- Shelf life: This homemade cream can last for up to 4-6 weeks, depending on storage conditions. Be sure to check for any changes in texture or smell before use.
Customization Tips:
- For oily skin: Reduce the amount of jojoba oil and add more witch hazel to control excess oil production.
- For dry skin: Add more rosehip oil or a few drops of vitamin E oil for extra hydration.
- For sensitive skin: Use gentle, soothing ingredients like chamomile extract or lavender oil instead of tea tree oil.
Common Mistakes to Avoid:
- Using too much cream: A little goes a long way – using too much can lead to excess product on the skin, causing clogged pores.
- Skipping patch tests: Always perform a patch test, especially when using essential oils like tea tree oil, which can be irritating.
- Not storing properly: Improper storage can cause the cream to spoil faster, reducing its shelf life.
- Skipping daily use: For optimal results, consistency is key. Don’t expect immediate results after one application.
- Not checking ingredients: Be mindful of the quality of oils and witch hazel you’re using; choose natural, alcohol-free products for the best results.
FAQs:
1. How long will it take to see results?
You should start noticing smoother, more refined skin within a few weeks of daily use.
2. Can I use this cream under makeup?
Yes, this cream provides a matte finish, making it perfect for use as a primer under makeup.
3. Can I use this cream if I have sensitive skin?
Yes, but perform a patch test first, especially if using tea tree oil. For sensitive skin, consider replacing it with lavender or chamomile oil.
4. Can I store this cream in the fridge?
Yes, refrigerating the cream can extend its shelf life and enhance its cooling effect when applied.
5. Will this cream help with acne-prone skin?
Yes, the cream’s ingredients like witch hazel and tea tree oil can help soothe acne-prone skin and minimize pores.
Conclusion:
This DIY Pore Invisible Cream is the perfect natural solution for anyone looking to minimize pores and achieve a smoother, more even complexion. Its gentle formulation nourishes and hydrates, leaving your skin with a fresh, velvety finish. Give it a try, and experience the transformation for yourself! Don’t forget to share your results with us—pin, tag, or share your skincare journey!

