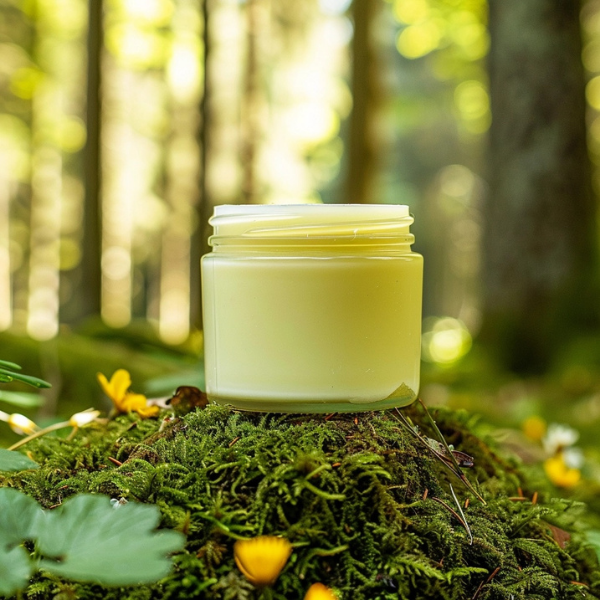
A rich DIY olive oil moisturizer for dry or sensitive skin. Hydrates, softens, and adds a natural glow with coconut oil, beeswax, and essential oils.
Introduction
Glow naturally with this DIY olive oil moisturizer that hydrates, nourishes, and soothes your skin. With just a few ingredients, this homemade balm delivers rich, creamy moisture perfect for dry, sensitive, or mature skin types. Whether used as a night cream, hand balm, or daily moisturizer, it leaves your skin soft, glowing, and beautifully nourished.
Benefits of This DIY Product
- Deep Hydration: Olive oil and coconut oil work together to moisturize dry skin.
- Soothes Irritation: Great for sensitive skin with calming ingredients.
- Rich in Antioxidants: Vitamin E helps protect and rejuvenate the skin.
- Gentle and Natural: No parabens, synthetic fragrances, or harsh chemicals.
- Multi-Use Balm: Can be used on face, hands, elbows, and more.
- Budget-Friendly: Simple, effective ingredients found in your pantry.
Ingredients Overview
- 1/4 cup extra virgin olive oil – Hydrates and nourishes.
- 1 tablespoon coconut oil – Adds moisture and helps with absorption.
- 1 tablespoon beeswax pellets – Thickens and helps seal in moisture.
- 1 teaspoon vitamin E oil (optional) – Adds antioxidant benefits.
- 3–5 drops lavender or chamomile essential oil (optional) – Calms and soothes.
- Small glass jar – For storing your moisturizer.
Instructions
- In a double boiler or heat-safe bowl over simmering water, combine olive oil, coconut oil, and beeswax.
- Stir gently until fully melted and mixed.
- Remove from heat and let cool slightly.
- Stir in vitamin E oil and essential oils, if using.
- Pour the mixture into a clean glass jar while still liquid.
- Let it cool at room temperature until solid.
- Seal with a lid and label if desired.
How to Use It
- Frequency: Use daily as needed, especially after cleansing.
- Amount: A pea-sized amount is sufficient per application.
- Best For: Dry, sensitive, or mature skin types.
- Patch Test Tip: Test on a small area first, especially if you have allergies to essential oils or botanicals.
Storage & Shelf Life
- Store in a cool, dry place away from heat and sunlight.
- Shelf life: Up to 6 months if stored properly.
- Use clean fingers or a spoon to avoid contamination.
Customization Tips
- For Lighter Texture: Whip the balm after cooling to make it fluffy.
- For Vegan Version: Swap beeswax with candelilla wax.
- For Extra Glow: Add a few drops of rosehip or jojoba oil.
- For Scent-Free: Skip essential oils for ultra-sensitive skin.
Common Mistakes to Avoid
- Overheating oils: Can degrade nutrients and essential oils.
- Skipping the beeswax: May result in an overly soft or runny balm.
- Not sterilizing containers: Can lead to contamination and spoilage.
- Adding essential oils while hot: May reduce their effectiveness.
- Using too much balm: A little goes a long way; avoid clogging pores.
FAQs
1. Can I use this on my face? Yes, especially at night or on dry areas. It’s rich and soothing.
2. Is it greasy? It’s a rich balm, so use sparingly. It absorbs best on damp skin.
3. Can I use it under makeup? For dry skin types, yes—apply a very thin layer and let it absorb.
4. Does it have a strong scent? No, but you can enhance or mask the natural scent with essential oils.
5. Can I gift this? Absolutely! Pour into mini jars, label, and wrap for a thoughtful homemade gift.
Conclusion
This DIY olive oil moisturizer is a simple yet luxurious way to care for your skin naturally. With nourishing oils, protective beeswax, and calming essential oils, it leaves your skin glowing and hydrated. Try it tonight, and tag your glow-up moments with #diymoisturizer or share your handmade creations with someone you love!

